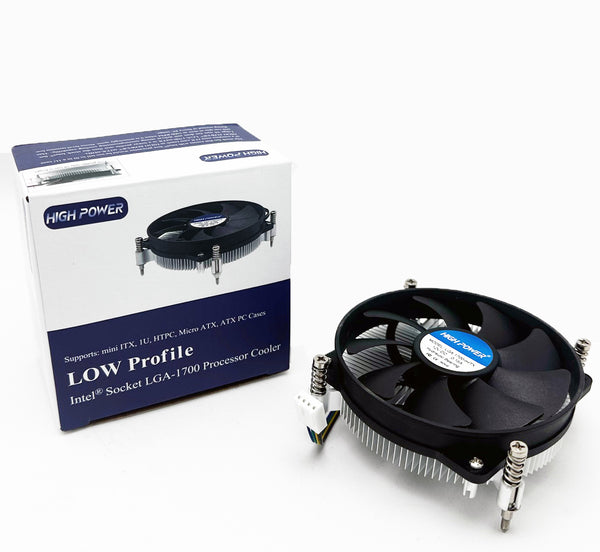


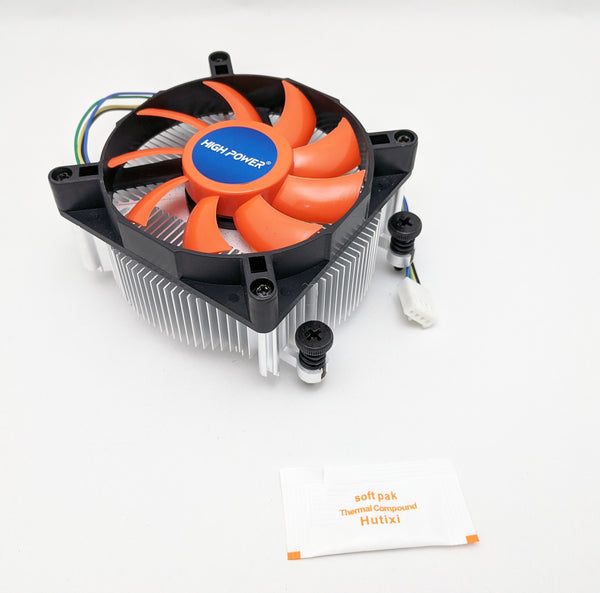
NEW Completely Silent Fanless Mini PC Case,
DIY Empty PC Project
DIY Empty PC Project
Install these parts to complete your system: Motherboard/CPU, Memory, SSD, Modular Cable DC-to-ATX , hard drive, AC Adapter and Memory, vesa mount screws
Case dimensions: 246mm x 61mm x 189 mm
Mini ITX is a small standard physical form factor that is one size smaller than Micro ATX. There are many mini ITX motherboards available in distribution and yet they are being built using micro ATX cases which does not effectively utilize its small footprint.
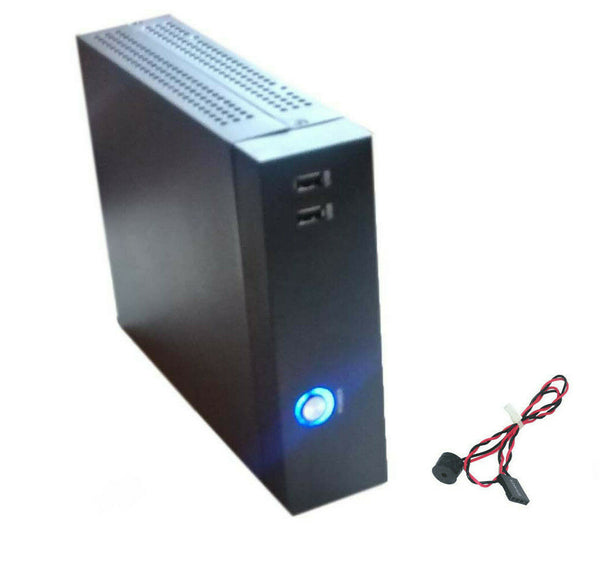
HIGH POWER® mITX-0DB is virtually the smallest chassis you can buy that will work with any standard mini ITX motherboard. Best of all, the high efficiency power supply solution provided does not require any cooling fan, making it a complete silent solution. When installed with a fanless CPU/motherboard combo, your system will be truly 0db. That is why there is a highly visible blue LED ring around the power switch to provide visual clue that the system is on.
Mini ITX is a small standard physical form factor that is one size smaller than Micro ATX. There are many mini ITX motherboards available in distribution and yet they are being built using micro ATX cases which does not effectively utilize its small footprint.
HIGH POWER® mITX-0DB is virtually the smallest chassis you can buy that will work with any standard mini ITX motherboard. Best of all, the high efficiency power supply solution provided does not require any cooling fan, making it a complete silent solution. When installed with a fanless CPU/motherboard combo, your system will be truly 0db. That is why there is a highly visible blue LED ring around the power switch to provide visual clue that the system is on.
Black mini ITX case with 2x front USB 2.0 port and blue LED back-lighted power switchº VESA mount kit integrated for easy mounting to the back of a VESA-compatible monitorº screwsOne of the Smallest Cases You Can Buy ... if you want to use standard components
Application: Smart mini PC, Industrial Embedded System, POS/POI, KIOSK, DVR, CCTV, Car, Boat, PC , Thin Client, Set Top Box, Firewall, Banking Terminal, Transaction Station , ATM, NAS, Web Payphone and Terminal Platform ,etc.
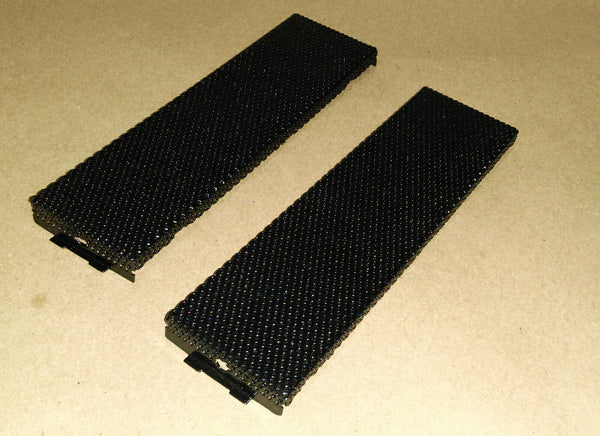
- Long life and low maintenance - With no fan blowing to bring dust inside
- Silent and light weight
- Drive bracket holds one 2.5" drive
- Case dimensions: 246 x 61 x 189 mm
Question & Answer
Q: What kind of hard drive does it support and does it support SSD ?
A: 2.5-inch form factor hard drive or SSD drive are supported.
Q: How do I mount this mini case to the back of my LCD monitor ?
A: Install the vesa mount screws on the back of your VESA compatible monitor. Then simply align the center of each integrated VESA mount/stand to each screw like how you would mount a picture frame.
You might also like

Regular price
$20.00